
Taking on the task of grouting your own floor tiles can be daunting, especially if you’re not sure what type of tile you have or how to go about completing the process. If you’ve got porcelain tiles that need grouting, don’t worry we’ve got you covered! This article will provide a comprehensive guide to grouting porcelain tiles so that you can successfully complete the task and create a beautiful space within your home. Read on for all of the information that you need to make sure your project is done the right way!
Step 1: Selecting the Right Grout
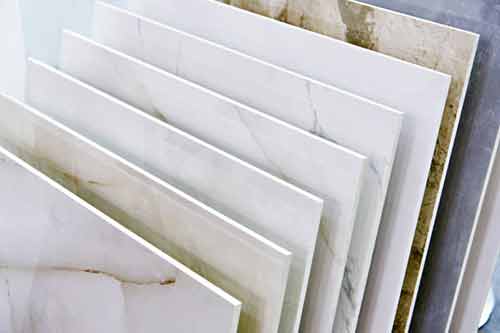
The first step in grouting porcelain tiles is choosing the right grout for your specific project. Since porcelain tiles are so durable, it’s important to select a suitable grout that won’t cause any damage to them. Generally speaking, unglazed porcelain tile should be grouted with sanded grout while glazed tiles should be great with unsanded varieties. In addition, try to choose a color of grout that complements both the tile and surrounding area. Nowadays, there’s many different flooring options for people to pick from, however Outdoor Porcelain Tiles are still a standout due to their distinctive characteristics in a variety of areas
Step 2: Preparing Your Work Area
Before getting started on any tiling project, it’s important to prepare a work area by clearing out furniture and removing any objects or debris from around where you’ll be tiling and spreading grout. To help protect against messes and spills while working, consider covering nearby surfaces with plastic sheeting or dropcloths. Additionally, make sure that all tools are easily accessible as they will be needed during each step of the process.
Step 3: Applying Grout
Now comes one of the most important steps in this process applying the chosen grout between each tile in order to create a seamless finish throughout your space. Begin by mixing up a small batch of your chosen type of grout, following instructions on its packaging carefully. When it reaches an optimal consistency (usually described as “the texture of peanut butter), use a rubber float or trowel to spread it across each seam between each tile before using an old cloth rag soaked with water in order to remove excess material from their surface and ensure even coverage throughout your work area. Make sure not to apply too much pressure when doing this step as this could cause cracking or other damage over time.
Step 4: Finishing Up
Once all excess material has been removed from between each tile, let them sit for at least 24 hours before entering back into the room and walking over them this will give enough time for them to fully dry and cure properly. After those 24 hours have passed, use a damp cloth (or vacuum) in order to remove all leftover residue from around each tile before adding protective sealer (if desired). Once everything is clean and finished up congratulations! You now have beautifully installed and sealed porcelain flooring in your home.
What type of grout should I use for unglazed porcelain tiles?
The best choice for unglazed porcelain tiles is sanded grout since it offers more durability than unsanded options do due its ability to form stronger bonds between individual pieces within larger surface areas like floors or countertops.
How long does it take for freshly applied grout between floor tiles to dry?
It usually takes about 24 hours for freshly applied grout between floor tiles to dry completely which allows them form strong bonds without being weakened by moisture or humidity levels present within its environment just make sure not walk over these areas until they’ve had sufficient time afterwards in order prevent any potential damage occurring during their curing process!
Conclusion:
Installing new porcelain flooring may seem like an intimidating job but with proper preparation and knowledge about which type of materials should be used when tackling different tasks along its installation process such as selecting suitable types of grouts depending on whether they’re glazed or unglazed can make all requires successful completion much easier (and more enjoyable). We hope that this article has provided some useful insights into how best go about when starting off one’s own project involving these versatile materials good luck!